

Create University Student ID Card
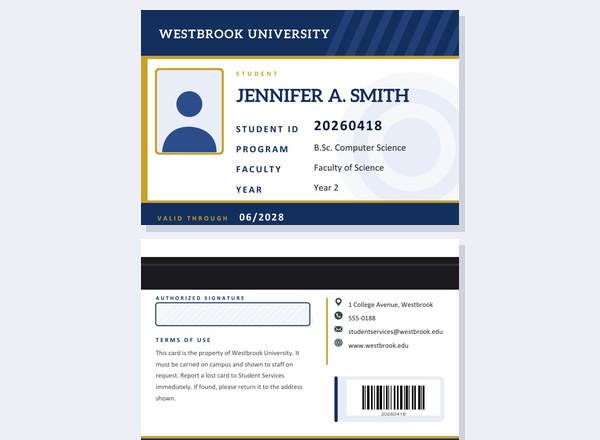
Design a campus-style student card in landscape format, the shape college and university cards usually take. Add the university name and logo, the student’s photo, number, program, faculty and year, and download a two-sided PDF with a magnetic-stripe style back and a scannable barcode.
Choose from four academic colour schemes. Tap Load sample data to see a finished card, then replace the details with your own.
Fill in the information below
Other Similar Templates
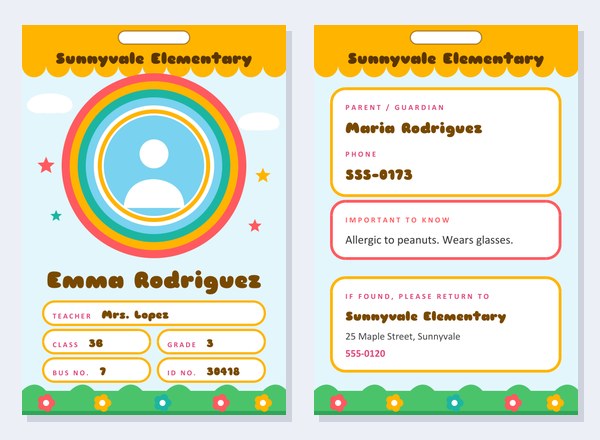
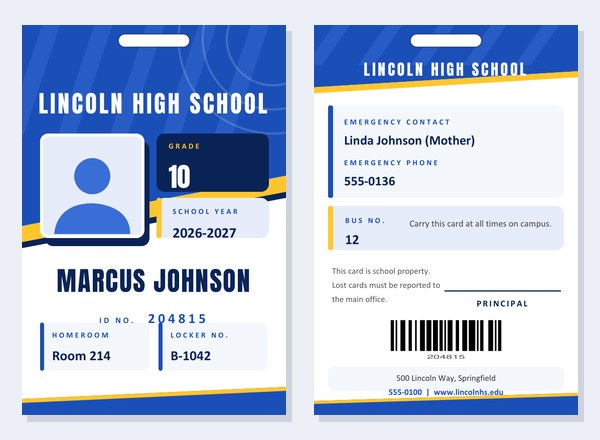
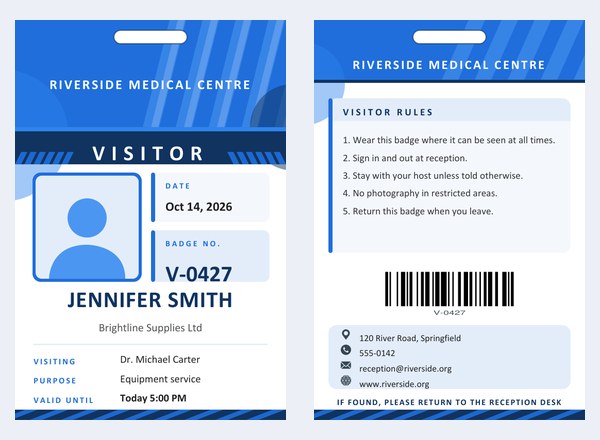
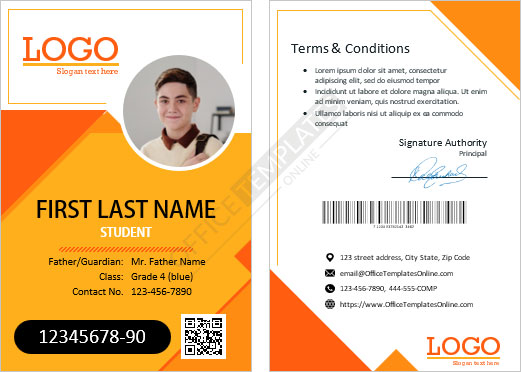
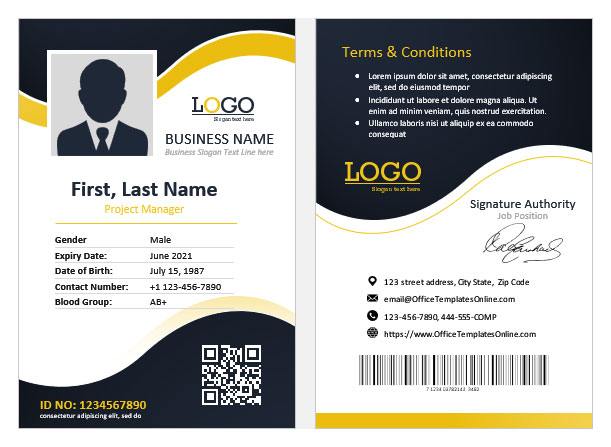
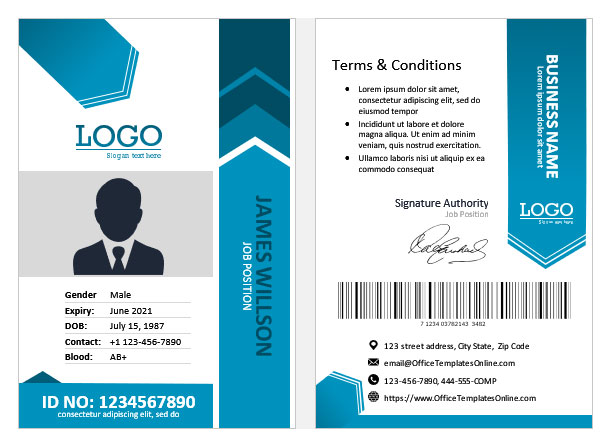
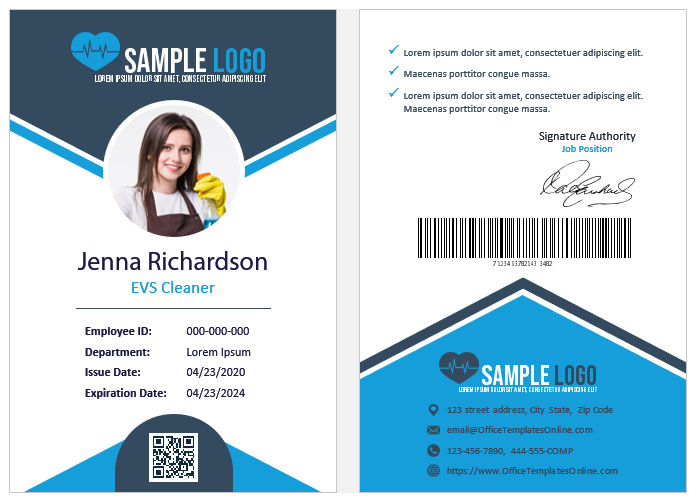
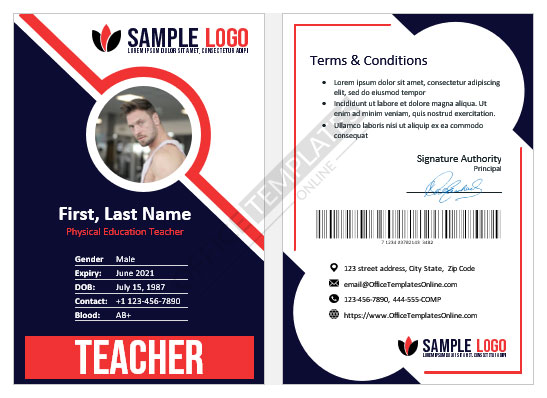
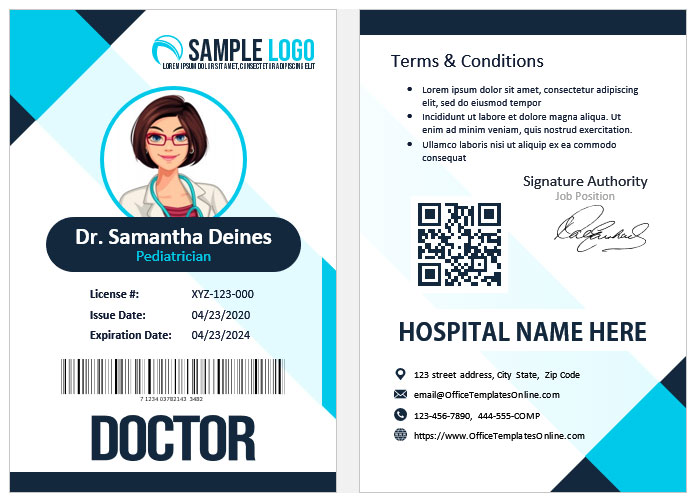
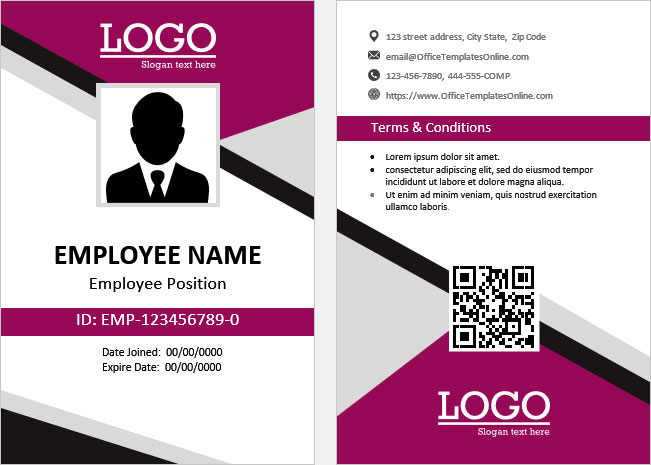
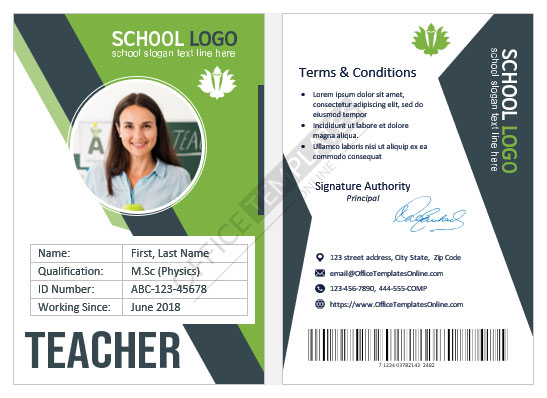
Some other templates similar to this one are also available here. If you would like to create your ID CARD using one of these templates, visit the following.
A landscape card made for campus life
A university card does more than prove who you are. It opens the library, borrows the laptop, pays for lunch, gets you into the exam hall and wins you a student discount at the cinema. People carry it in a wallet or a lanyard for years, so it should look like it belongs to a serious institution. This template gives you that look: a wide card with a deep header band, a gold accent line, a framed photo on the left, the details on the right and a coloured strip along the bottom that shows how long the card is valid.
The back copies the layout of a real campus card. A dark stripe across the top stands in for the magnetic strip, a hatched panel below it holds the student’s signature, the terms of use run down the left, the university’s contact details sit on the right and a barcode made from the student number finishes the design.
Who uses it?
- Small colleges and training institutes that issue their own cards and do not have a professional card printer.
- Student societies and clubs that need a member card styled like the university’s own.
- Language schools and summer programs for international students who need a photo card during their stay.
- Teachers and professors who want a prop or a classroom exercise on how institutions identify people.
- Film makers, theatre groups and game designers who need a believable fictional campus card.
- Students who need a temporary replacement while the official card is being reissued.
Whatever the use, remember that this is a printable design. Real access systems depend on the university’s own databases, so a printed card does not by itself open any doors.
Five student types
The small line of capital letters above the name comes from a drop-down list. Pick Student, Graduate Student, Exchange Student, Part-Time Student or International Student. Printing the status on the card helps librarians, security staff and event organisers treat each cardholder correctly without asking questions.
Four academic colour schemes
- Navy & Gold: traditional and trustworthy, the look of many long-established universities.
- Maroon & Gold: warm and distinguished, often linked with older colleges and medical schools.
- Forest & Gold: calm and natural, a good match for agricultural, environmental and outdoor programs.
- Teal & Amber: fresh and modern, ideal for technology, design and business schools.
Filling in the form
- University name and logo. The name is printed in a header band in capital letters. An uploaded logo appears in a small white badge to its left.
- Student name and number. The number is printed in bold and also converted to a barcode on the back, so add it exactly as your system records it.
- Program, faculty and year. These three lines are optional. If you leave one empty, the rest move up to fill the gap.
- Valid through. A month and year such as 06/2028 works well. It appears in the colour strip at the bottom of the front.
- Photo. Use a plain, evenly lit head-and-shoulders picture. It is cropped to a square-ish frame automatically; without it a silhouette stays in place.
- Terms of use. About three sentences, printed on the back in small type.
- Contact details and signature. Address, telephone, email and website appear with icons; the signature is drawn on screen and printed in the hatched strip.
The pencil icon beside several labels lets you reword the printed captions. “Faculty” can become “Department” or “School”, “Program” can become “Course” or “Major”, and “Year” can become “Level” or “Semester”.
Writing the terms of use
Short, plain sentences are best on a card this size. A good set covers four points: who owns the card, when it must be shown, what to do if it is lost, and where to return it if found. For example: “This card remains the property of the university. It must be carried on campus and shown to staff on request. Report a lost card to Student Services. If found, please return it to the address shown.” Anything longer belongs in the student handbook, not on the card.
Printing a campus card at home or in the office
The PDF contains two landscape pages, each 3.88 inches wide and 2.63 inches high, the standard credit-card proportion. The easiest route is to print on bright white card stock of 200 to 250 gsm, trim to the page edge and slide the card into a rigid plastic sleeve or lanyard holder. For a more durable result, laminate it with a matte pouch. Some copy shops will print directly onto blank plastic cards if you take them the PDF.
If you print double-sided, choose “flip on the long edge” for landscape pages, then check one test card before running a batch. Make sure the barcode prints clearly in black on white without being stretched, and scan it with the device your library or reception desk uses.
Privacy and good practice
- Show only what is needed. A name, number and program are usually enough; leave out birth dates and home addresses.
- Give each student a unique number so that a lost card cannot be confused with another.
- Collect expired cards and replace them each academic year.
- Keep a record of every card issued, in your own system, and cancel lost cards promptly.
- Follow your institution’s rules about student photographs and personal data.
Questions people ask
Can I make a card without a photo?
Yes. A neutral silhouette is printed instead.
Will the barcode work with my library system?
The barcode is a standard Code 128 symbol containing the student number. Check that your scanner reads it before you print a full set.
Is the black stripe a real magnetic strip?
No. It is printed artwork, a visual match for a real strip. A card that needs a working magnetic strip should be printed professionally.
Can I use it for a staff card?
Yes, if you rename the captions and leave the program line blank, although the Employee ID Card template may suit staff better.
Does it cost anything?
No, it is free to create and download.